Camilla Jessen
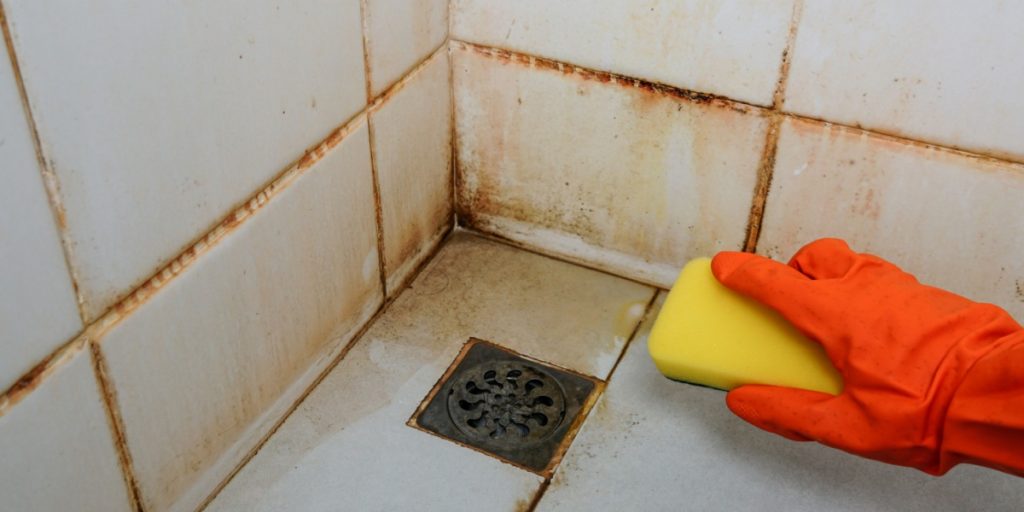
Silicone joints quickly get dirty and dark, and you’re likely familiar with the hard and tedious work of cleaning them. But with these tricks, you’ll easily restore the white color to your joints.
Others are reading now

Silicone joints are a lifesaver when it comes to keeping water out of places where it shouldn’t be, like your bathroom or kitchen. But they can get grimy pretty quickly. If you’ve got dirty or moldy silicone joints, don’t stress! Here are some simple tips to clean them up and keep them looking fresh.
What’s Making Your Silicone Joints Dirty?
Silicone joints are used in bathrooms, kitchens, and even between walls and skirting boards to prevent water from seeping in and causing trouble. Because they’re used in places where there’s a lot of moisture, they can get pretty gross over time.
Before you get to cleaning, it’s good to know what kind of dirt you’re dealing with:
-
White spots: This is usually limescale from hard water.
-
Red or brown spots: This could be iron or ochre deposits.
-
Blue-black spots: That’s often algae or other microorganisms.
-
Black spots: This is typically mold, and it’s not something you want to ignore.

How to Clean Silicone Joints
If you’re just dealing with regular dirt or limescale:
-
Start with a sponge: Grab a sponge or a soft brush, and use some dish soap or an all-purpose cleaner to scrub away the dirt.
-
Vinegar solution: Mix one part vinegar with four parts water and give the joints a good wipe-down. This should take care of most of the grime.
-
Wipe clean: Use a damp cloth to clean off any residue.
Got Mold? Here’s What to Do
If you find mold on your silicone joints, you’ll need a different approach:
-
Use a mold-killing disinfectant: Try something like Rodalon or ProtoxHysan. Don’t use bleach—it’s not good for your air quality, and it can harm the environment.
-
Apply disinfectant carefully: Follow the instructions on the product, and make sure you’ve got good ventilation.
Keeping Joints Clean for the Long Haul
To keep your silicone joints from getting dirty again:
-
Add a little varnish: After cleaning, apply a thin layer of clear varnish. This helps keep the surface from getting sticky and attracting more grime.
-
Try a joint refresher pen: It’s like a magic marker for silicone joints. It can brighten them up and add a little protection against mold, but it’s not a fix for moldy joints.
When to Replace Silicone Joints
Sometimes, joints get too damaged, and you just have to replace them. Here’s how to do it in a wet room:
-
Gather your tools: You’ll need silicone sealant (get the anti-mold kind), a caulking gun, acetone, a utility knife, and painter’s tape.
-
Remove the old joint: Use the utility knife to cut along both sides of the joint and then pull it out.
-
Clean with acetone: This helps get rid of any leftover bits.
-
Apply new silicone: Put painter’s tape on each side of where you want the new joint, then use the caulking gun to lay down the new silicone.
-
Smooth it out: A smoothing tool can help get the right shape. Then remove the tape.
-
Let it cure: Follow the directions on the silicone for how long it needs to dry.
With these tips, your silicone joints should be looking great in no time!